Chilly gusts of eerie wind. Echoing growls from a dark abyss. The heart-thumping sensations of utter fear and terror. This is where the horror genre thrives.
Plottr’s Horror Beat Sheet plot structure template will help you write page-turners that keep readers up at night.
What is the Horror Beat Sheet?
It’s hard to attribute the creation of the Horror Beat Sheet to a specific individual. Yet its popularity and effectiveness are evident in generations of spine-chilling stories that follow its structure. You’ll find its traces in everything from Frankenstein and Dracula to Stephen King’s It and the Predator franchise.
This plot structure’s power lies in its ability to weave together elements of suspense, fear, surprise, and resolution. All hallmarks of the horror genre.
In Plottr’s template, the Horror Beat Sheet is assembled into three primary phases:
- The Setup (Act 1)
- The Turn (Act 2)
- The Prestige (Act 3)
Each phase then maps out a series of objectives and situations that protagonists must encounter and surmount, forming a fifteen-beat overarching structure.
These beats capture the essence of horror storytelling, helping writers construct narratives that frighten, surprise, and captivate.
Who is the Horror Beat Sheet for?
The Horror Beat Sheet is ideal for plotters. Anyone who likes to have their entire story mapped out before they begin writing.
This plot template outlines all the critical beats or points that a typical horror story should hit. This ensures that the narrative maintains its suspense and terror throughout.
The detailed nature of the Horror Beat Sheet also gives plotters a comprehensive roadmap to follow.
For pantsers — those who prefer to write by the seat of their pants and let the story unfold as they write — the Horror Beat Sheet can serve as a loose guide.
Pantsers might not follow every beat in the exact order given, but having a general sense of the necessary components of a horror narrative is beneficial.
This provides just enough structure to keep the story on track while still leaving plenty of room for spontaneous creativity. It also provides a way to reverse engineer your plot to make sure the only thing scary about the story is the plot’s dark turns — and not breakdowns in the narrative flow!
Watch our video guide to the horror beat sheet, then keep reading below, with examples from Stephen King’s It:
Plot Points of the Horror Beat Sheet Plottr Template
Let’s explore the Horror Beat Sheet in Plottr using a classic example. We’re tapping into the terrifying world of Stephen King’s It. This tale of childhood friends, known as the “Losers’ Club,” battling the monstrous clown, Pennywise, exemplifies the Horror Beat Sheet perfectly.
As we break down each beat, we’ll examine the suspense, horror, and climactic confrontation that make this plot structure so effective. Get ready to explore the nerve-racking rollercoaster ride that is the Horror Beat Sheet.
Act 1: The Setup
Beat 1: The World is Not What it Seems. The opening beat is where the audience catches their first glimpse of the monster, or at least an early hint that the monster exists.
Example: The story starts with the disappearance of Georgie Denbrough, hinting at something sinister in Derry.
Beat 2: Putting the Players In Action. This is the stage where the main characters are introduced and their primary internal conflicts are revealed.
Example: The kids of the Losers’ Club are shown in different time periods, dealing with personal traumas and fears which reflect the forms Pennywise will take to terrorize them.
Beat 3: Setting Them on the Path. Here, the characters make a choice that inadvertently isolates them or places them on a collision course with the monster.
Example: As children, the Losers’ Club begins investigating the mysterious events in Derry, setting them on a collision course with Pennywise.
Beat 4: The Warning. This is where the characters have an opportunity to walk away but instead, decide to proceed with their journey—despite the danger.
Example: Despite their frightening encounters with Pennywise, the Losers’ Club decides to stay and fight.
Beat 5: First Contact with the Monster. The end of Act 1 is marked by the characters’ first encounter with the monster.
Example: The children each have their first encounters with Pennywise, but they do not fully grasp the danger yet.
Act 2: The Turn
Beat 6: It Gets Real. This is the moment where the threat becomes evident to the characters involved.
Example: When Beverly witnesses blood spurt from her bathroom sink, a horror that her father can’t see, the Losers’ Club starts to understand the very real threat of Pennywise.
Beat 7: The Chase. This is where the monster grows increasingly dangerous and comes ever closer to catching the story’s hero or heroes.
Example: The Losers’ Club members are pursued by Pennywise, both as children and again as adults.
Beat 8: Failed Confrontation. The hero attempts to solve their problem but fails because they are not yet ready.
Example: In their initial confrontation as children in the sewers, the Losers’ Club believes they have defeated Pennywise, but they have not fully understood the creature or their own fears.
Beat 9: The Darkest Hour. The confrontation has failed, the monster is on the move, and the hero is more isolated and in greater danger than ever before.
Example: As adults, the Losers’ Club realizes that despite their efforts, Pennywise has returned and their childhood fears are still unresolved.
Act 3: The Prestige
Beat 10: A Different Solution. A new piece of information comes to light that provides a way to defeat the monster.
Example: Mike Hanlon provides the Losers’ Club with new information about the cycle of Pennywise and how it can be defeated.
Beat 11: Seeking Out the Beast. Armed with knowledge, the hero seeks out the monster ready to try and defeat it once again.
Example: Armed with their newfound understanding, the adult Losers’ Club ventures into the Derry sewers to face “It.”
Beat 12: The True Cost is Revealed. Both the internal and external conflict must be confronted together, and another defeat will leave the hero irrevocably changed.
Example: Eddie dies while fighting Pennywise, forcing the remaining Losers’ Club members to confront their personal fears.
Beat 13: Sacrifices Are Made (or Not). The hero either succeeds in defeating their internal conflict and prevails against the monster, or fails tragically.
Example: The Losers’ Club faces Pennywise in a final confrontation and successfully kills “It,” but at the cost of Eddie’s life.
Beat 14: The Inevitable Fall Out. This beat shows the aftermath of the monster’s defeat and how the hero, having confronted their internal conflict, moves forward in their new reality.
Example: After the battle, the surviving Losers’ Club members deal with the aftermath of their victory, carrying their traumas with them as they move on.
Beat 15: Evil Cannot Be Conquered, Only Delayed. The story ends with a return to normalcy, but a foreboding hint suggests the true monster isn’t entirely defeated.
Example: In the end, the memory of Pennywise starts to fade, suggesting that while they have won this battle, the war against evil is a continuous journey.
How to Use the Horror Beat Sheet Template in Plottr
In Plottr, plot templates provide some structure while still allowing you the freedom to infuse the setup with your unique story elements, surprises, and transformations in each act.
To get started, make sure you have an active Plottr membership plan or sign up for a free trial. Once you’re ready, follow these steps to begin using the Horror Beat SHeet structure for your next story.
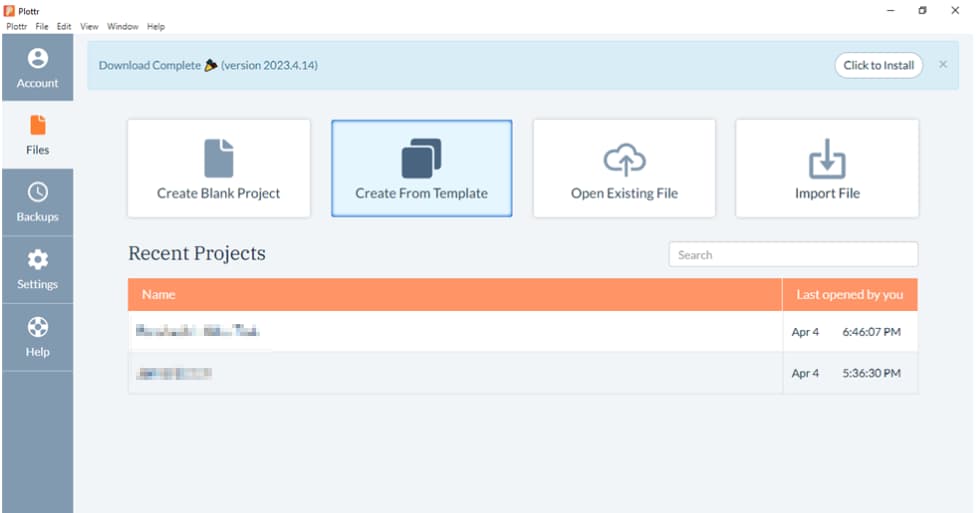
- Step 1: From the Plottr dashboard, click Create from Template
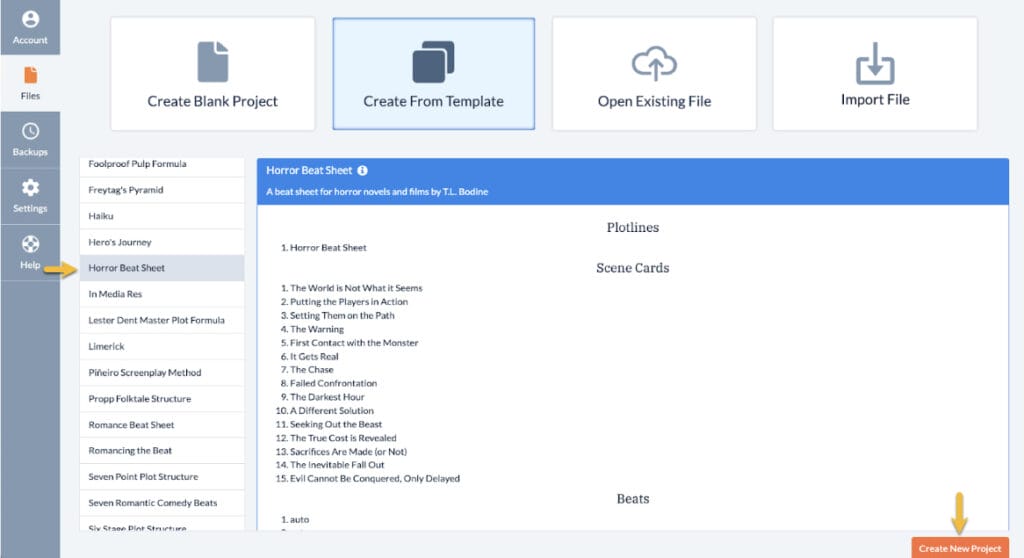
- Step 2: Select the Horror Beat Sheet template from the list of options in the sidebar. Then click Create New Project
- Step 3: Give your project a name, and it will be included in your list of projects so you can return to it at any time
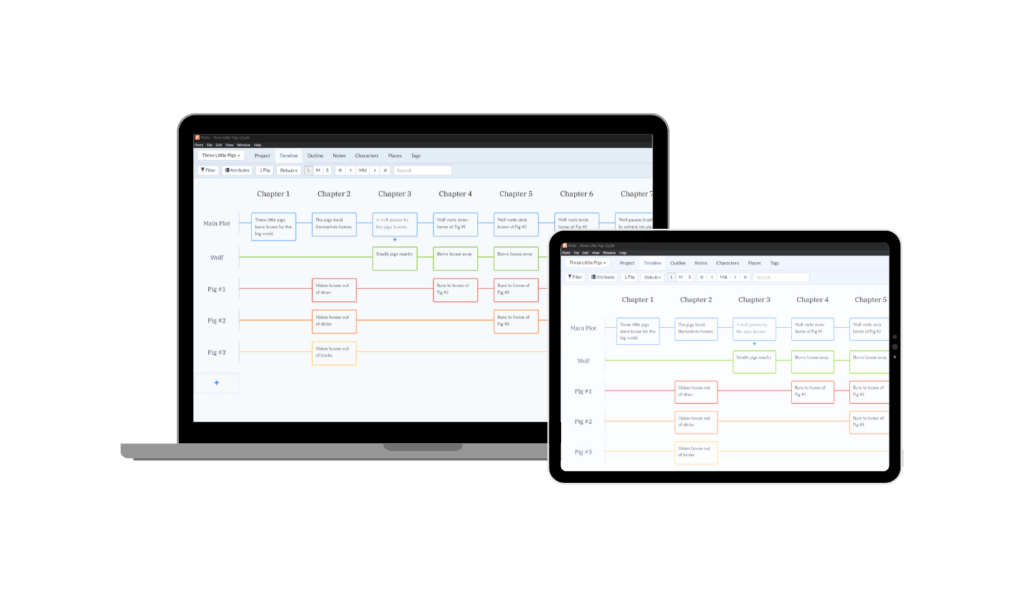
- Step 4: The project will open in timeline view. Click any of the scene cards to begin adding ideas (you can write above the line where indicated, or erase the templated instructions given for each horror beat)
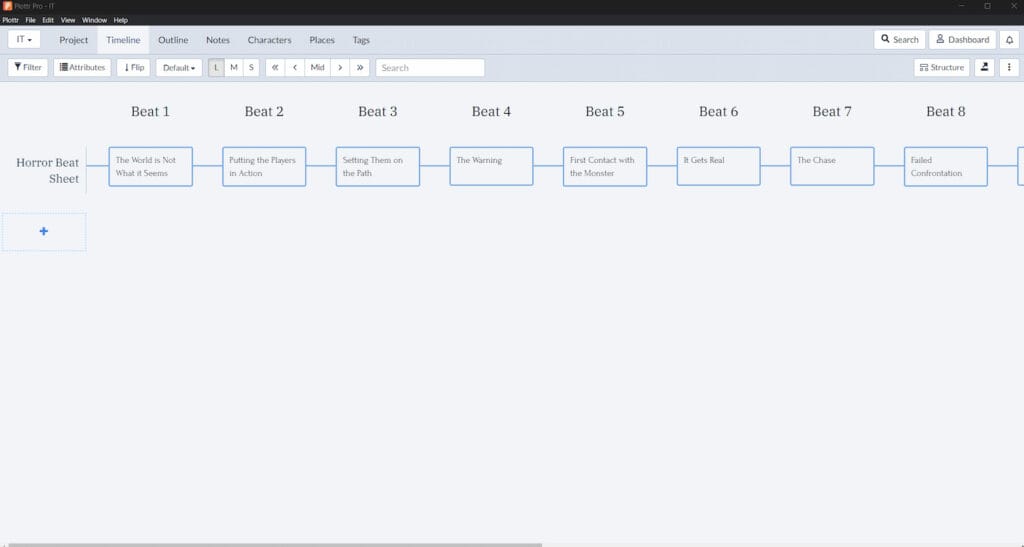
Do you want to see the entire timeline at once? Just click M in the top navigation to fit more on screen.
If you want to create subplots and secondary story arcs alongside these beats, or start brainstorming characters in the Characters tab, the Horror Beat Sheet works well with these templates:
- Cognitive Distortions (Character Template)
- The Story Circle (Plot Template)
- Rorschach Inkblot Test (Character Template)
Don’t Be Afraid of the Dark
Whether you’re brewing bone-chilling horror stories, spine-tingling thrillers, or otherworldly tales of apocalyptic proportions, the Horror Beat Sheet Plottr template will help you create gasps and monstrous stories.
Dive in now with a free Plottr trial and let us know what sort of horror you’re writing in the comments. You can also catch free Plottr tutorials every Tuesday!


Comments