Plottr Screenshots
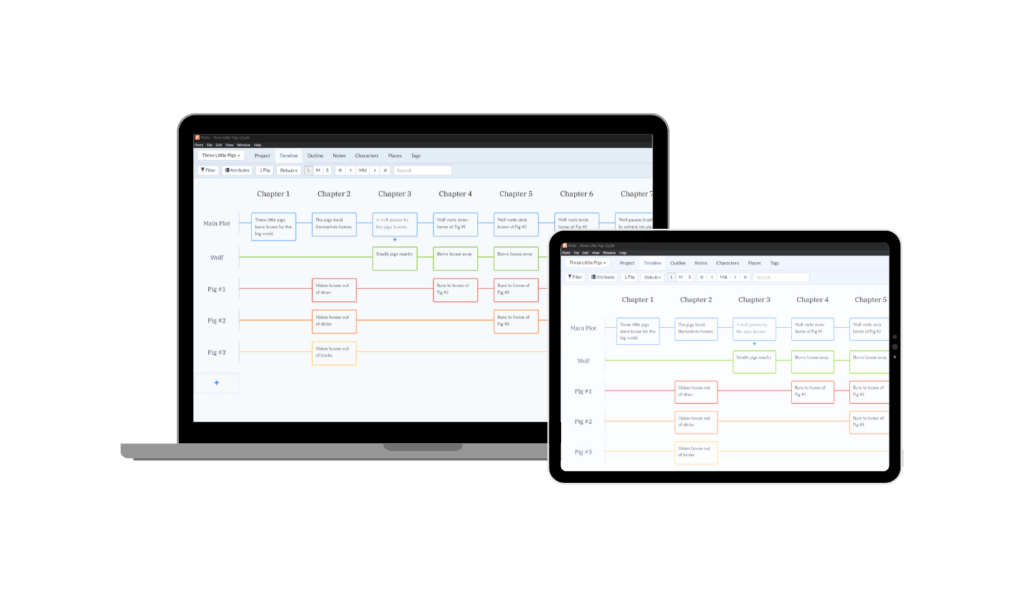
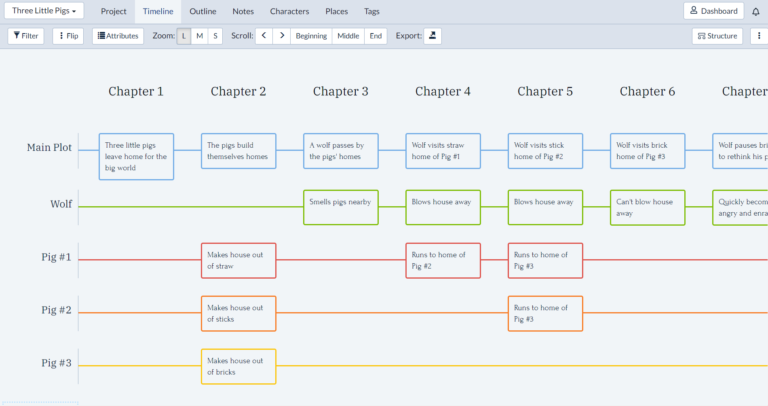
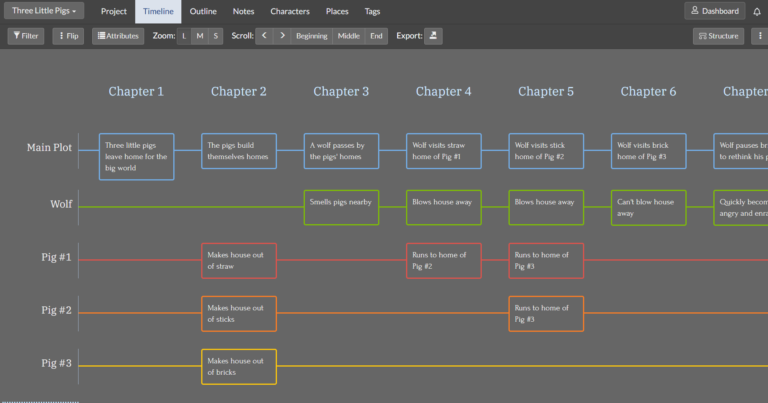
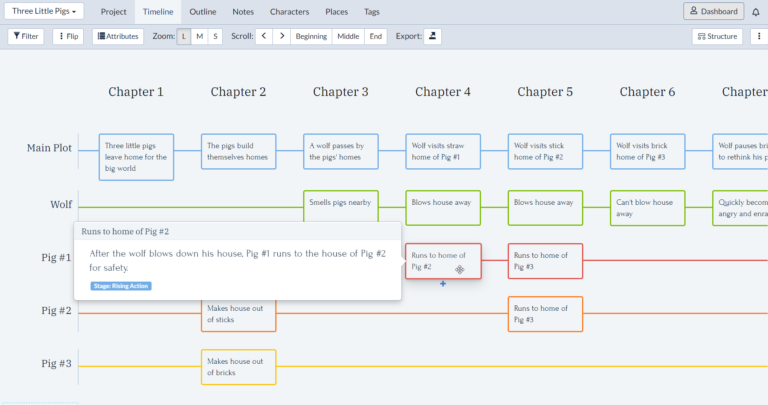
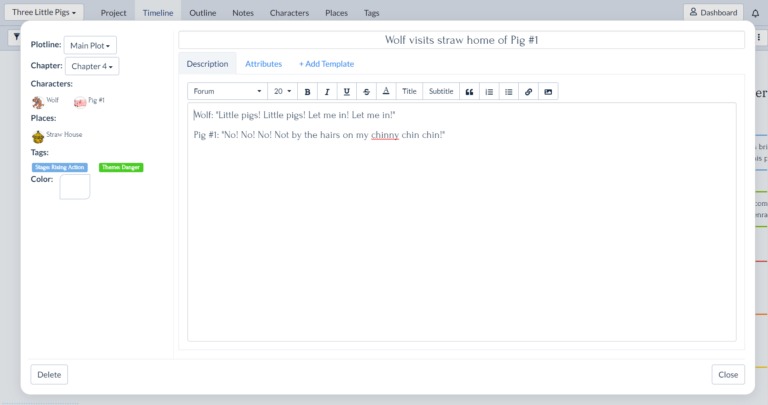
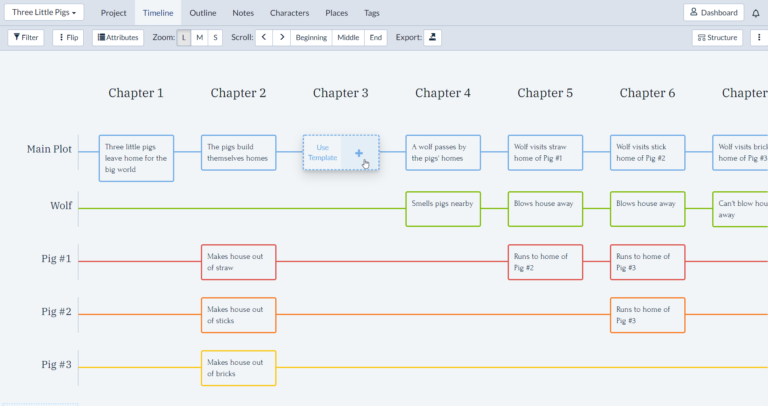
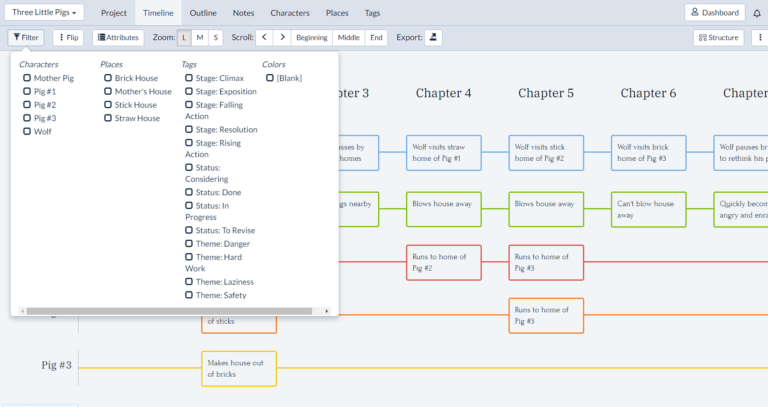
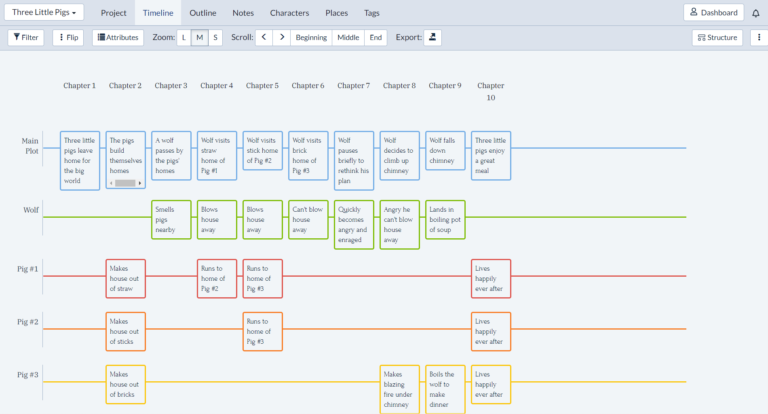
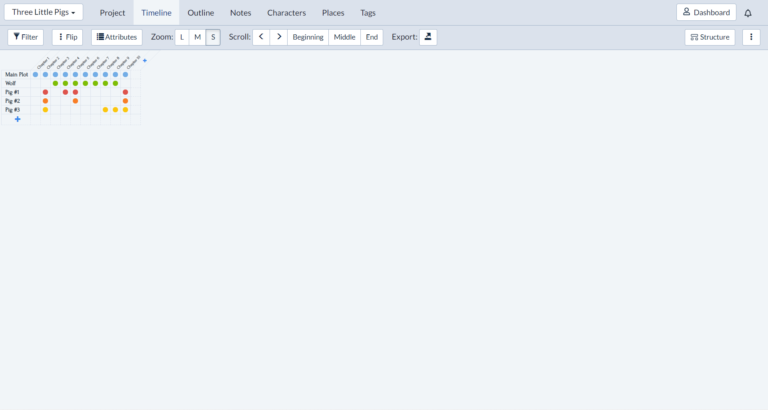
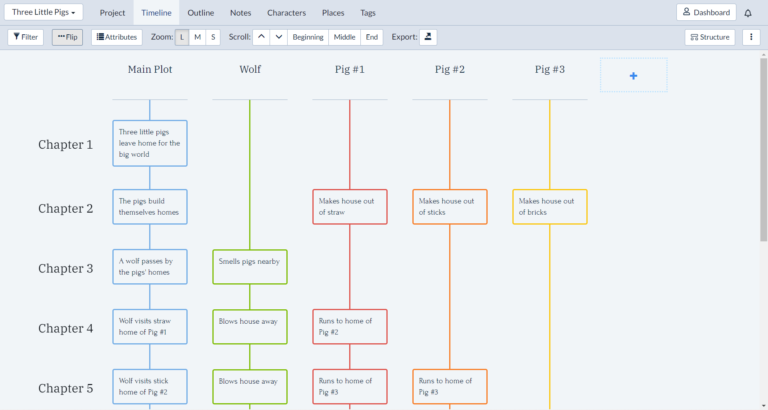
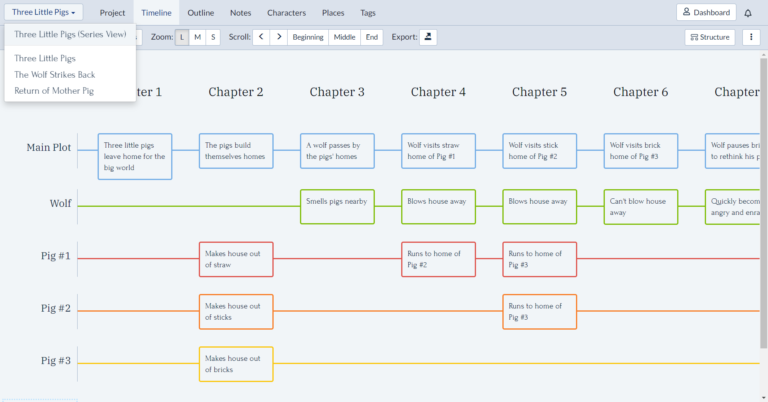
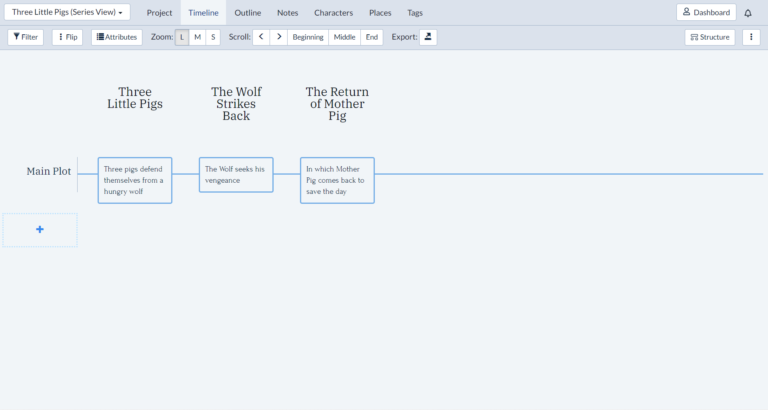
The Timeline section is the visual hub of Plottr, and it’s where you will begin your journey after installing the app. Below are screenshots of the Timeline on a desktop computer. Click on any image to explore.
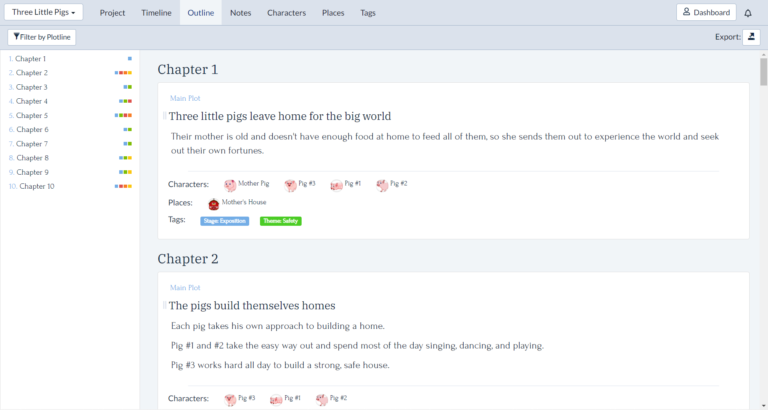
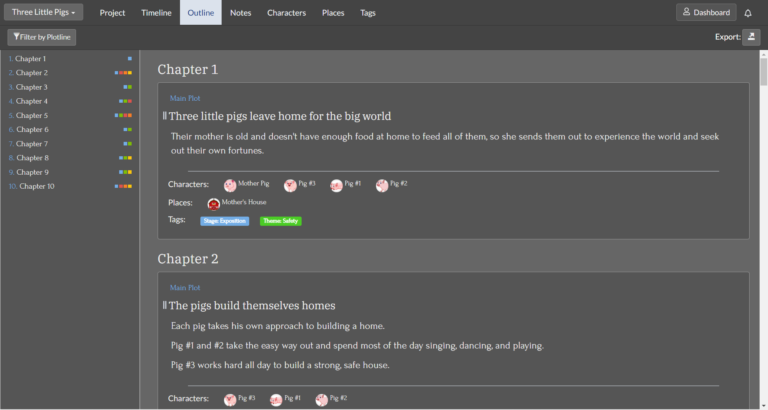
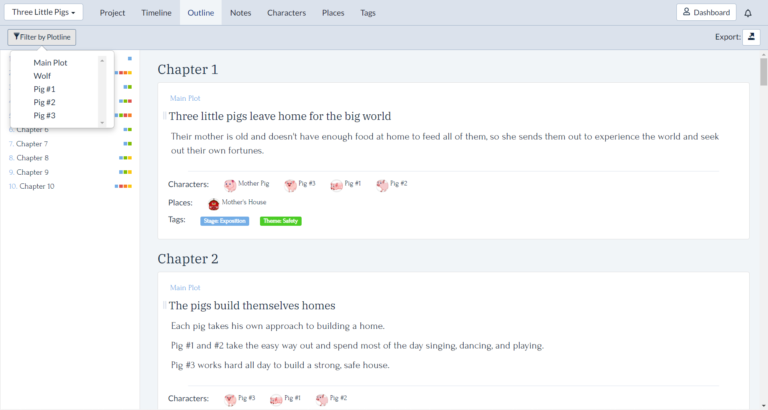
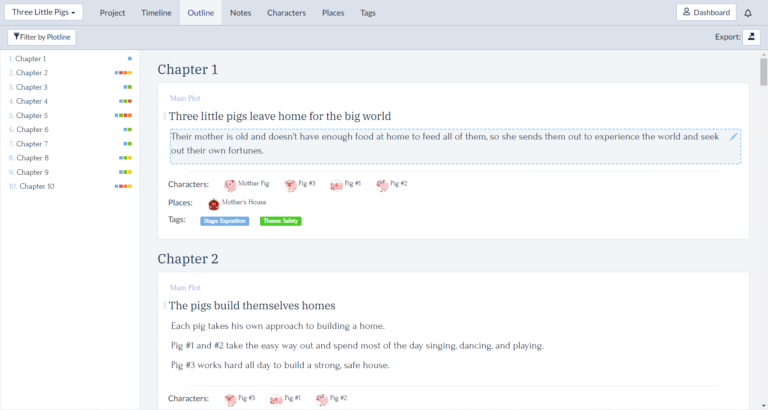
The Outline section is where you’ll find an automatically generated linear outline of your manuscript. Below are screenshots of a sample Outline on a desktop computer. Click on any image to explore.
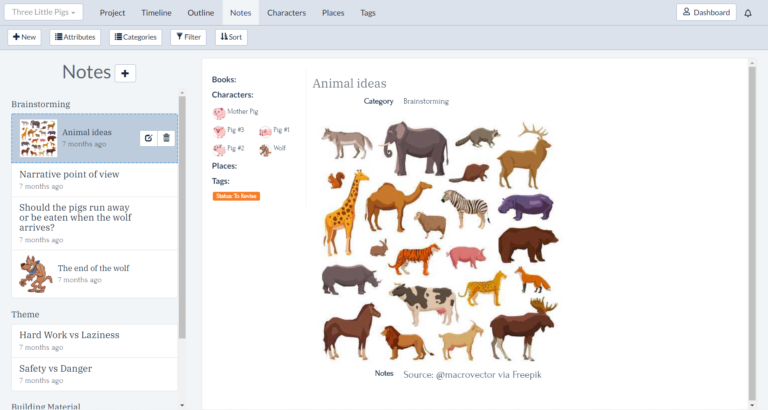
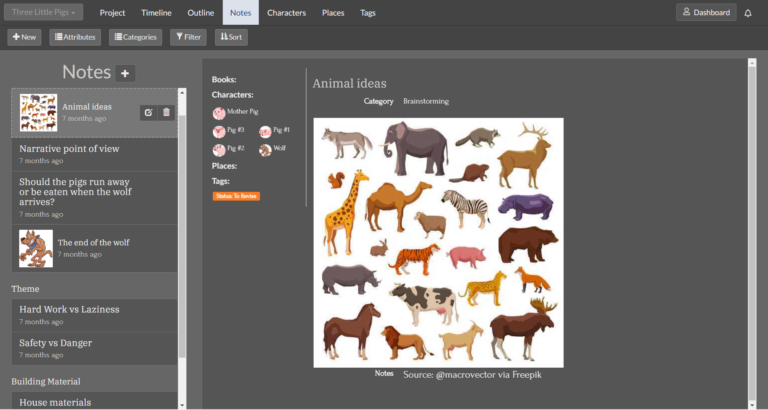
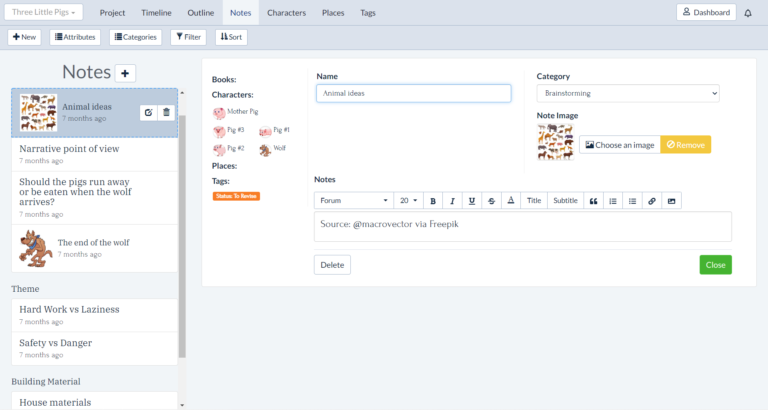
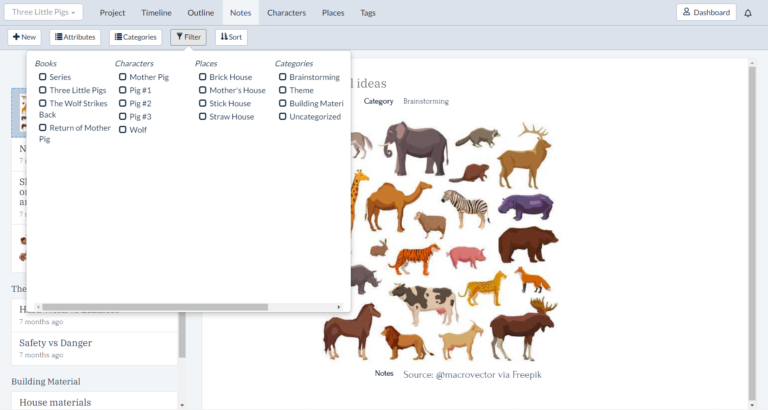
The Notes section is where you can brainstorm ideas related to your manuscript. Below are screenshots of a sample Notes section on a desktop computer. Click on any image to explore.
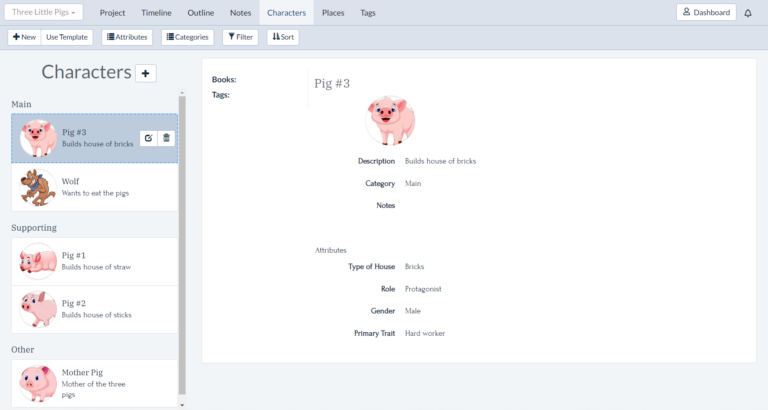
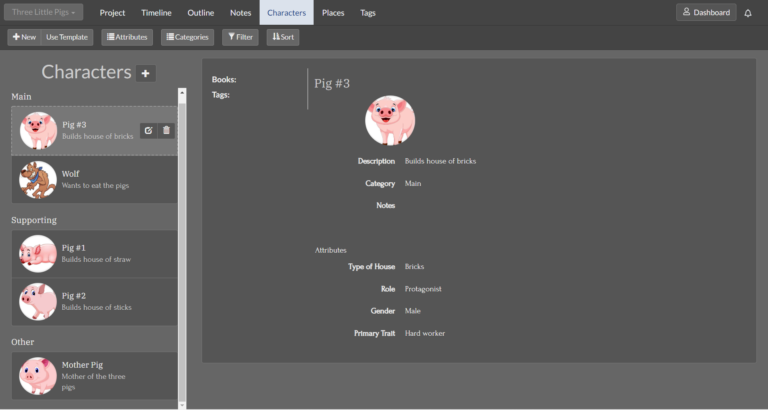
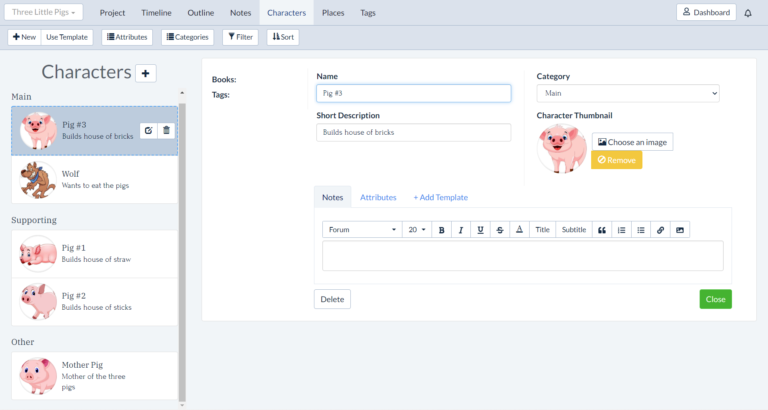
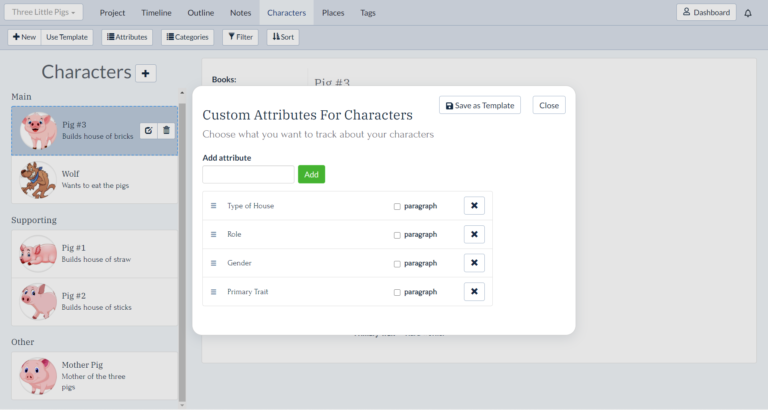
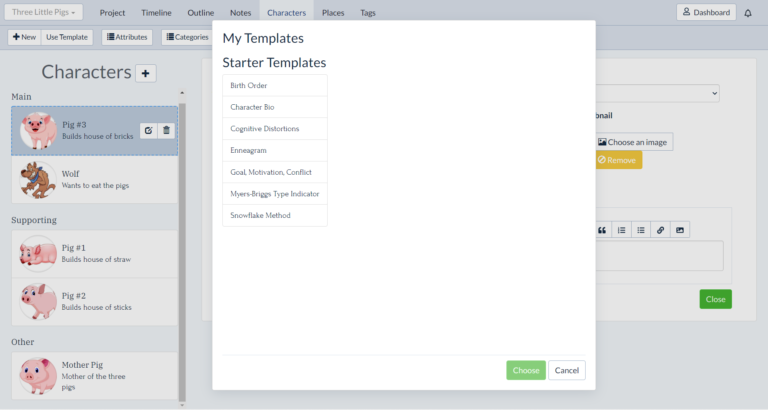
The Characters section is where you add your character notes, avatar images, and custom attributes. Below are screenshots of a sample Characters area on a desktop computer. Click on any image to explore.
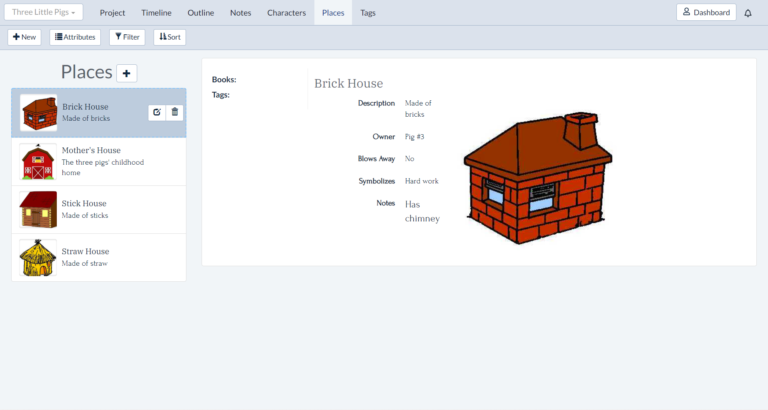
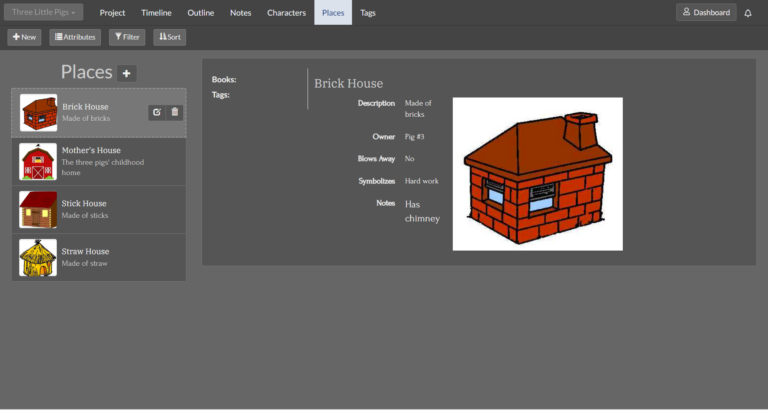
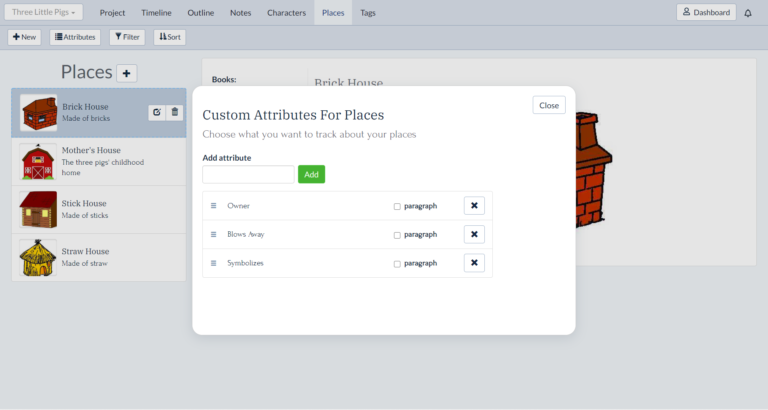
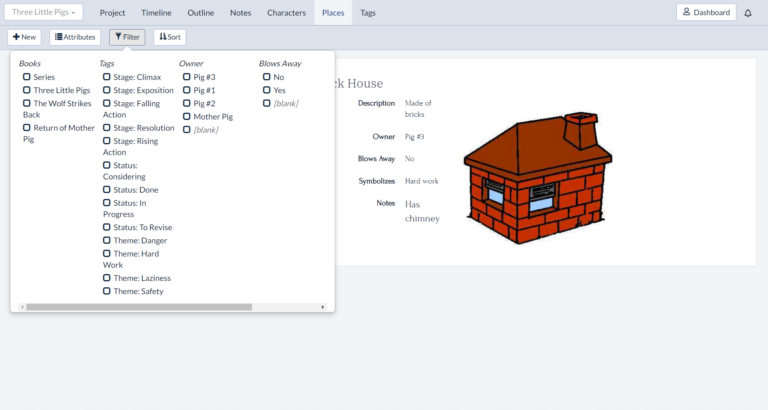
The Places section is where you add your location notes, images, and custom attributes. Below are screenshots of a sample Places area on a desktop computer. Click on any image to explore.
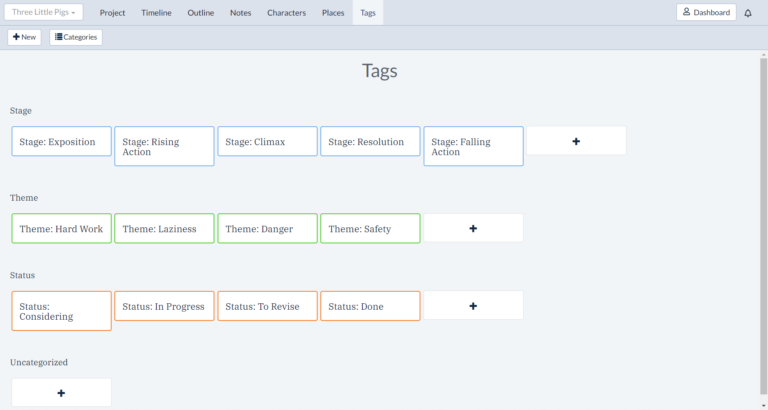
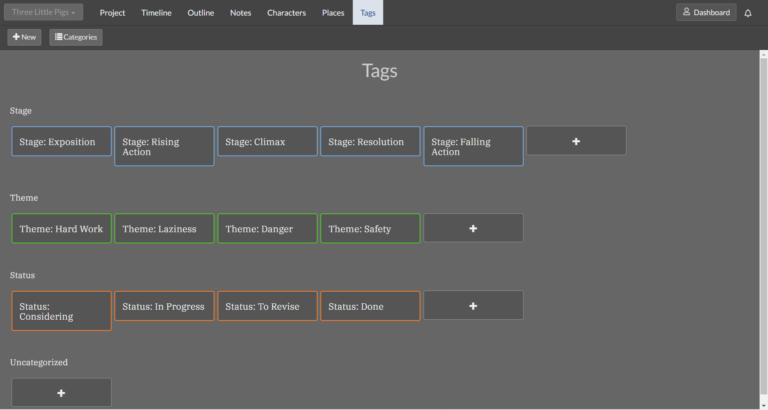
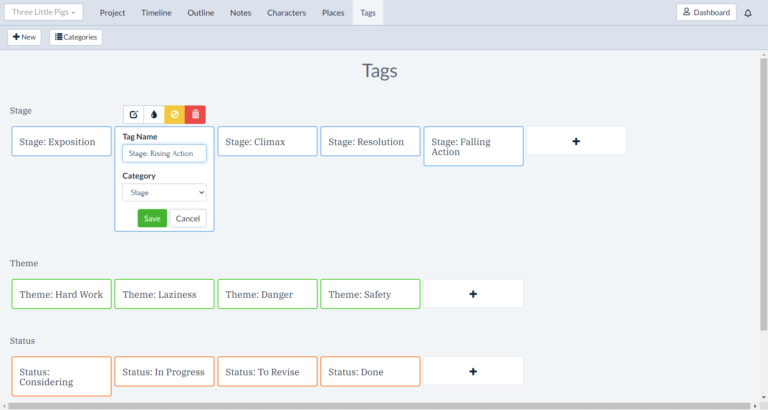
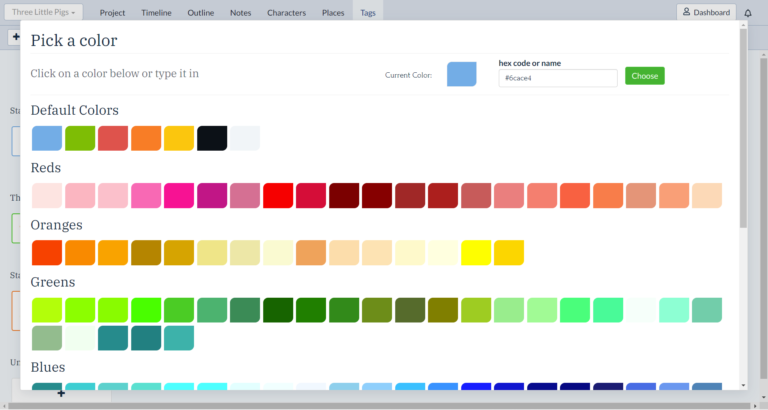
The Tags section is where you create tags to help organize your story — you can use them to identify emotions, actions, story beats, to dos, or anything you can imagine. Below are screenshots of a sample Tags area on a desktop computer. Click on any image to explore.
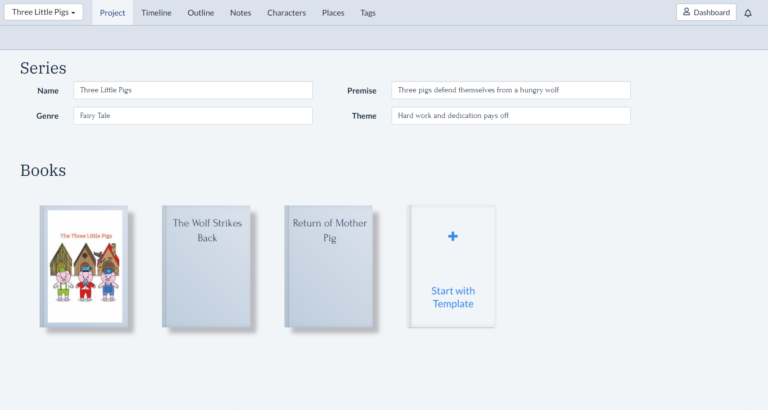
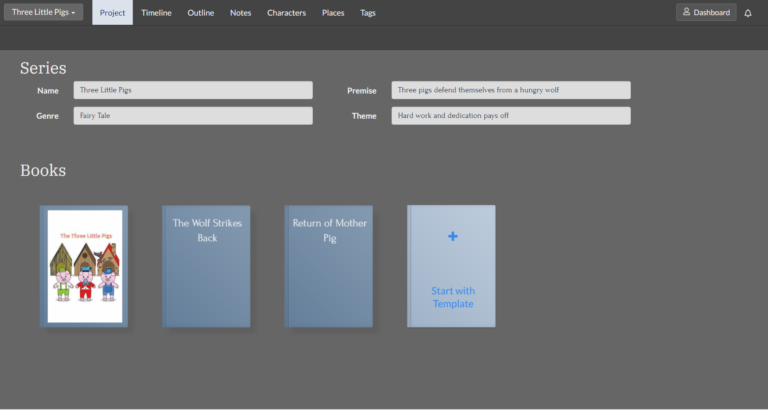
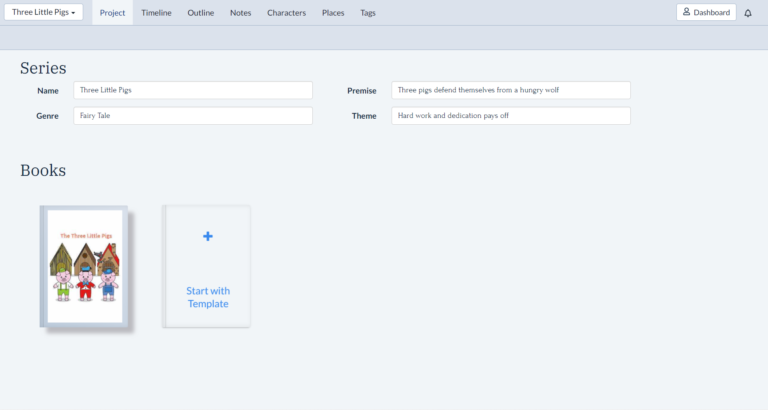
The Series section is where you add and organize all of the books in your series, so that you can easily view all of your related timelines. Below are screenshots of a sample Series section on a desktop computer. Click on any image to explore.
